Structure checked
Keeping the interior depends on its condition.
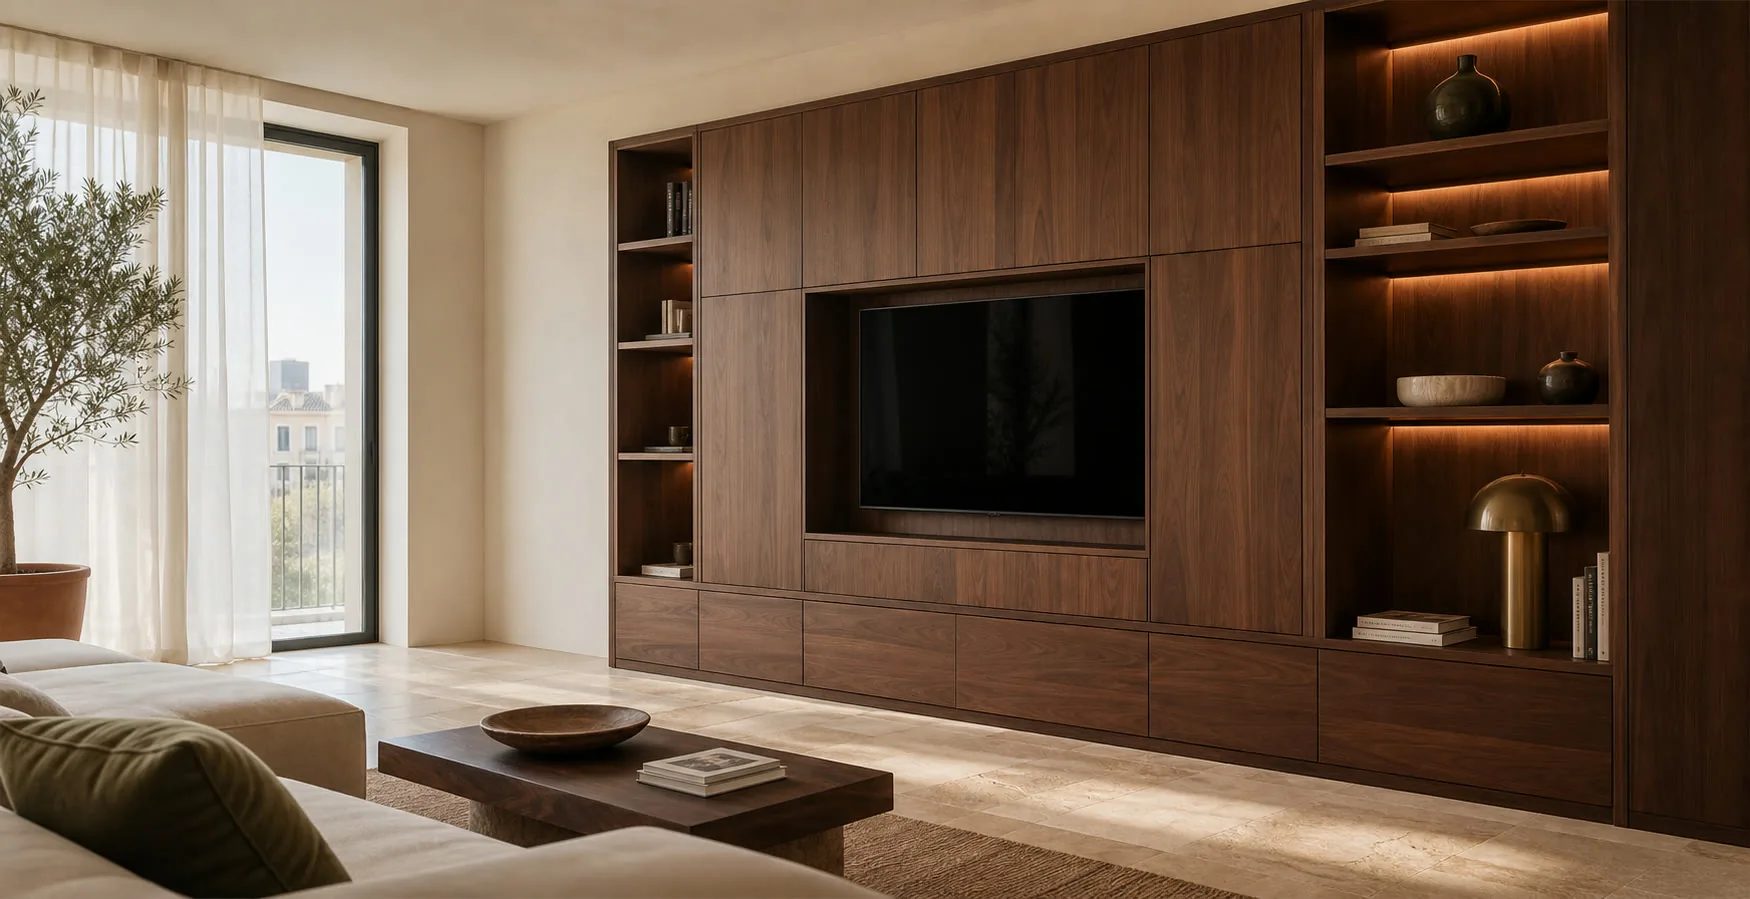
Furniture planned for the room you actually have
Before replacing wardrobe doors alone, look at what sits behind them. In Torrevieja we inspect sides, tracks, hinges and the square of the opening. New fronts can still scrape if the carcass is distorted.
An attractive front does not straighten a warped carcass or release a blocked drawer. We decide what can remain and which mechanism needs replacement.
Keeping the interior depends on its condition.
New weight may require different mechanisms.
Drawers still extend behind the doors.
Sides and plinth meet the existing wall.
The measurements and the agreed specification turn an initial price range into a final quote. Design and project work are free when you commission us to make the furniture to that project.
Photographs, rough sizes and your address let us discuss the scope. The figure remains provisional until we measure.
We check the actual openings, services, wall lines and the route for bringing the pieces in.
If plans are needed, we develop them after the survey. The design and project are free when you commission us to make the furniture to that project.
We set out the agreed layout, boards, fronts, fittings, delivery and any installation included in the order.
You can check the full proposal before accepting it. Production begins after the agreed advance payment.
The pieces are made to the approved measurements and specifications, with the agreed hardware prepared for fitting.
We carry out the transport and installation specified in your order, then adjust the parts we have fitted.
We test doors and drawers with you, record any outstanding details and close the job once the agreed result is confirmed.

I'm Lorena Peña. You don't need to know the technical name for the furniture. Describe the problem in your own words and add a photo if you can; I'll help you work out the next step.
No obligation. Rough measurements are enough to get started.
The carcass governs new door weight and movement.
Existing support positions and strength are checked.
Sliding parts must remain accessible for adjustment.
They are tested for grip and passing clearance.
Samples are seen beside flooring in real room light.
Possible situations that explain the design, not claims of completed work.
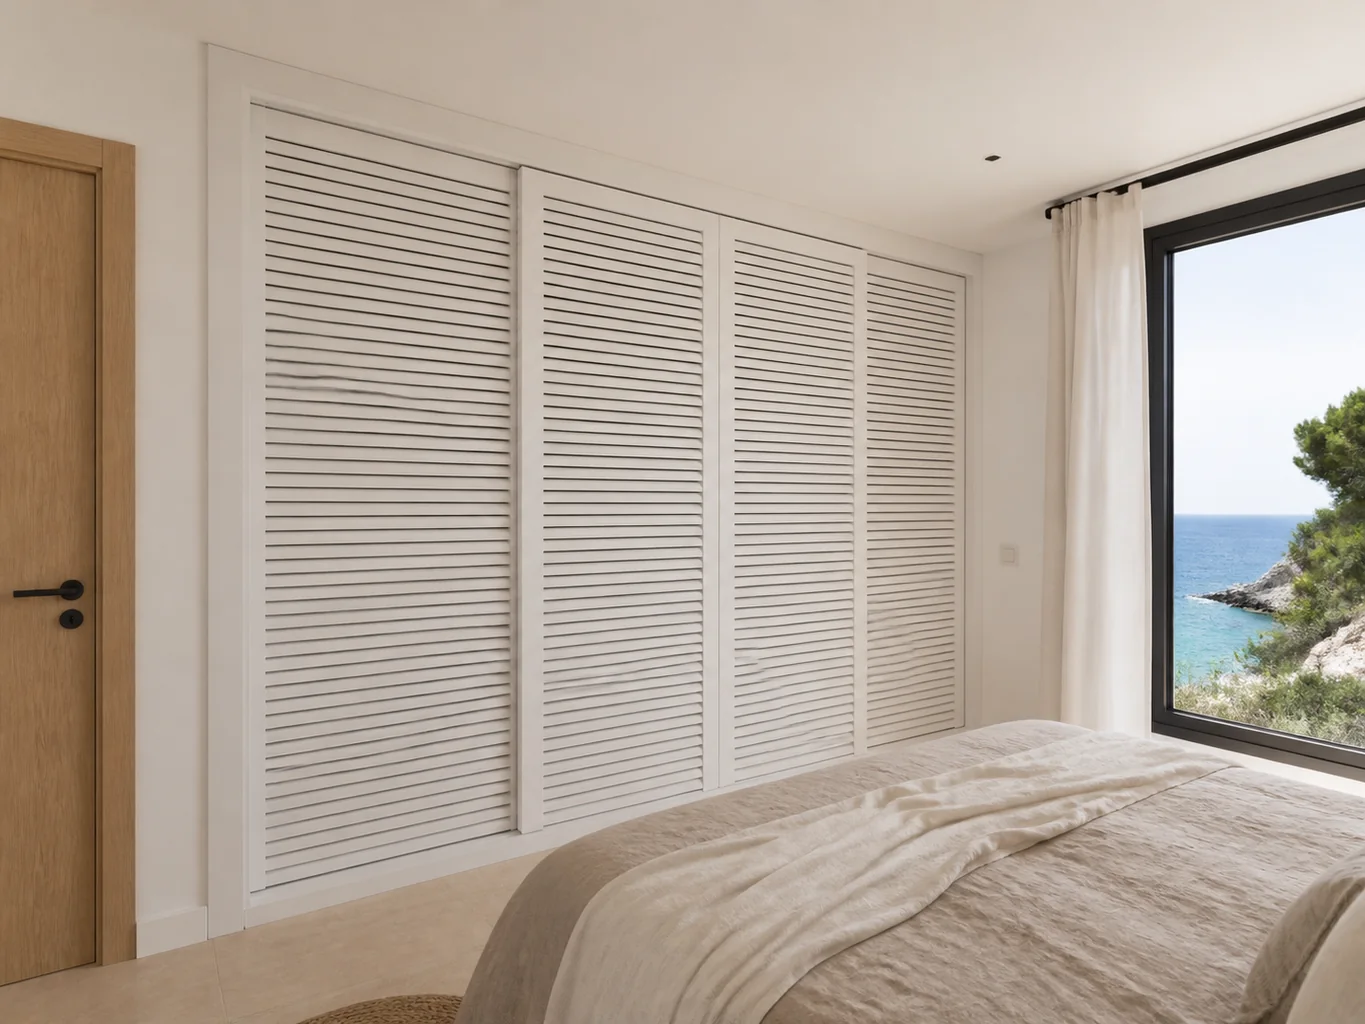
New doors make use of a sturdy wardrobe.
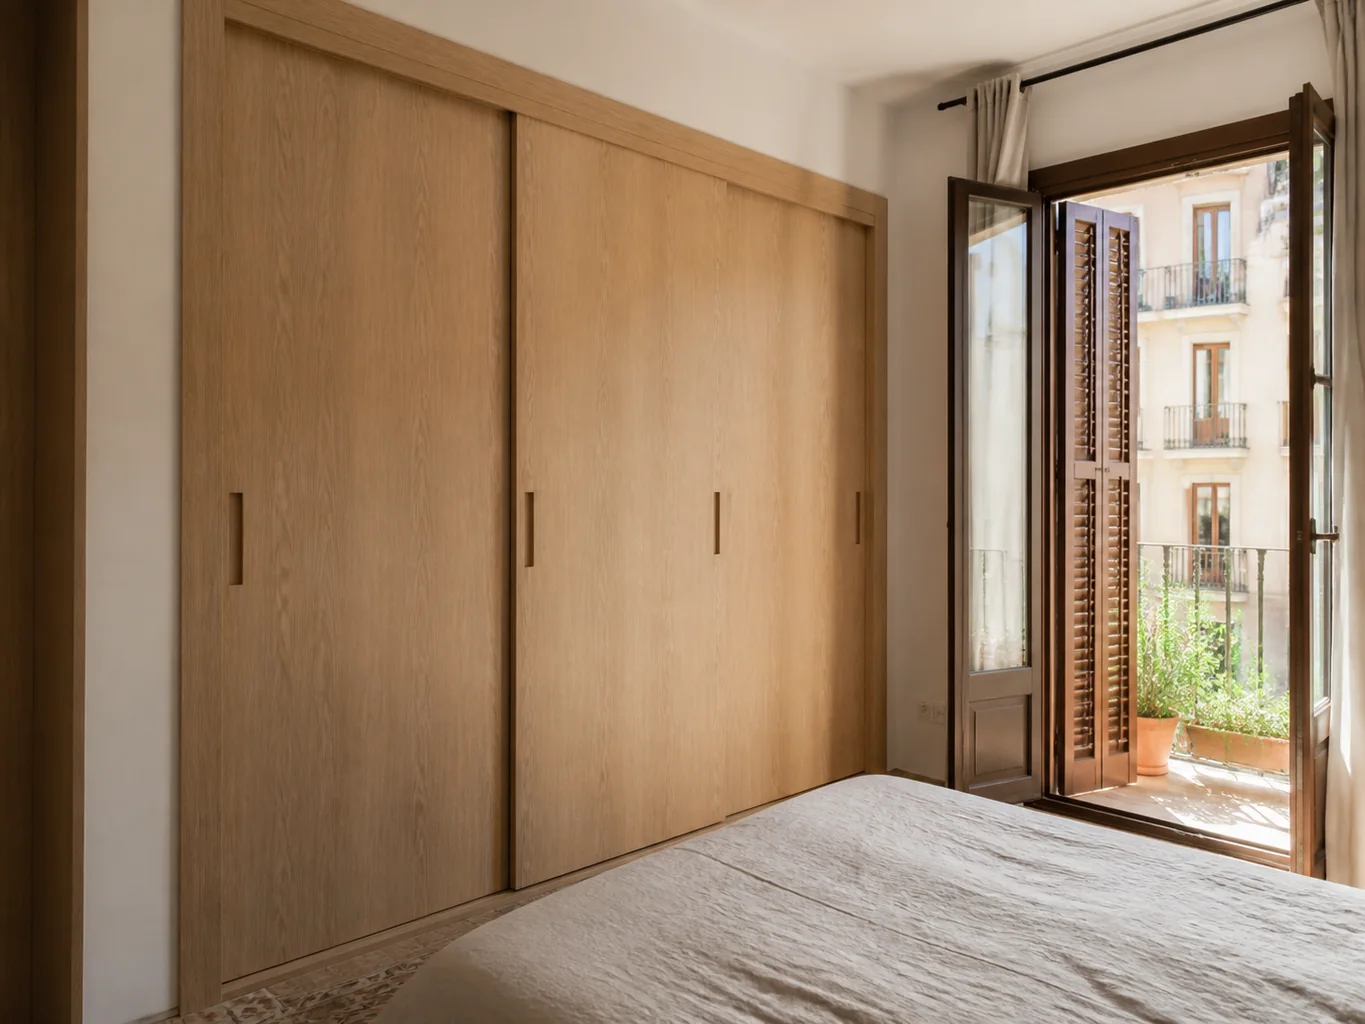
A new panel alone would leave the original fault.
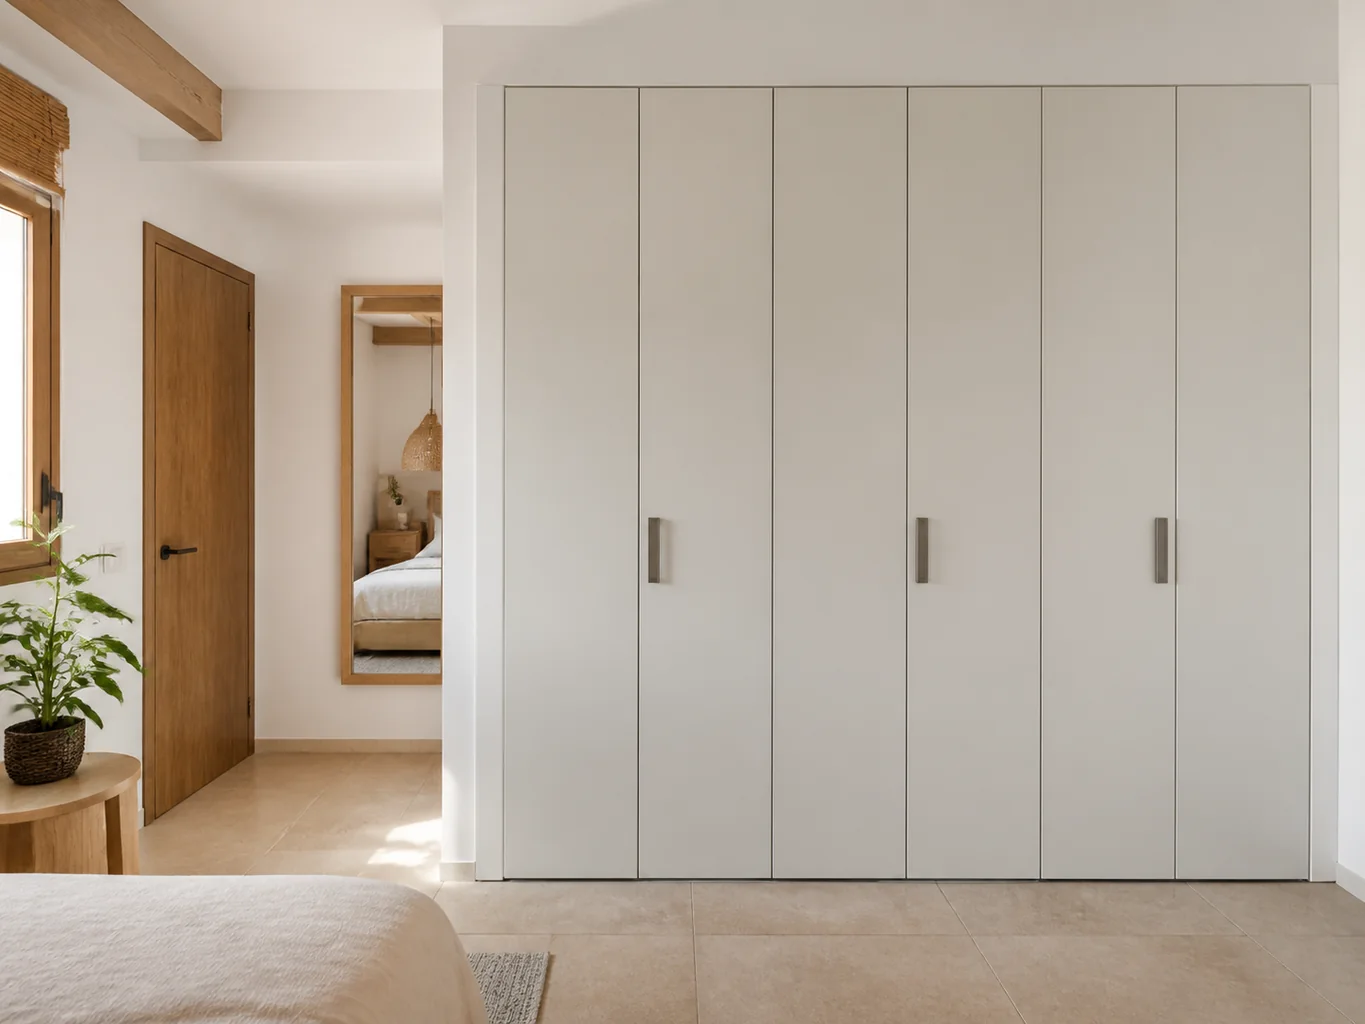
New doors sometimes cannot solve substantial distortion.
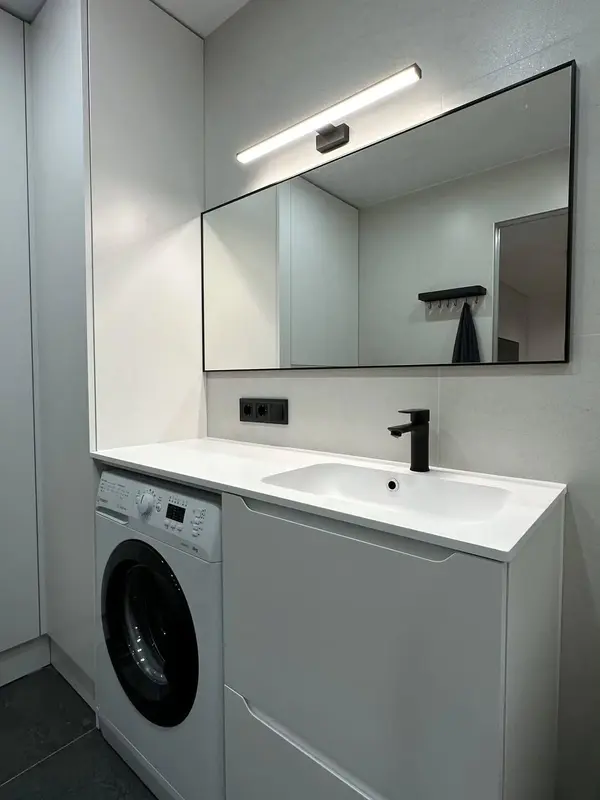 Photo collection
 Furniture inspiration from MMV Estudio
View on Instagram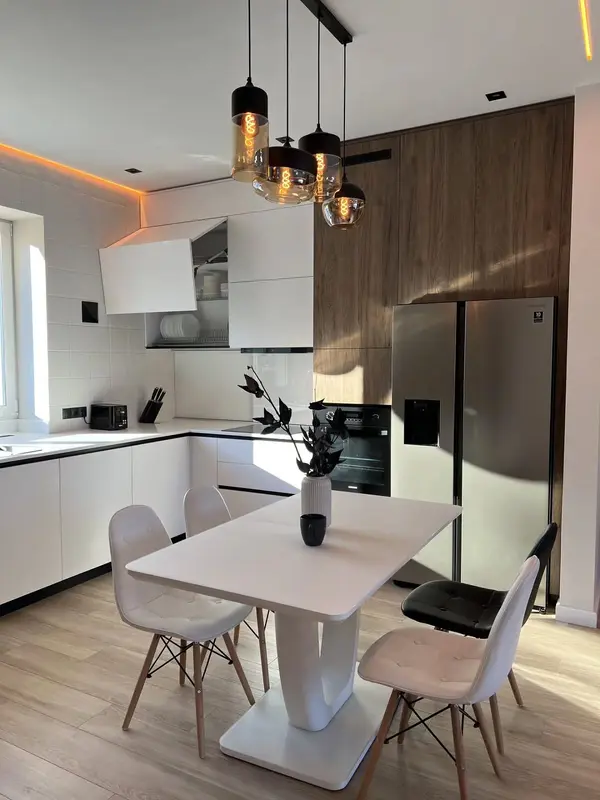 Photo collection
 Furniture inspiration from MMV Estudio
View on Instagram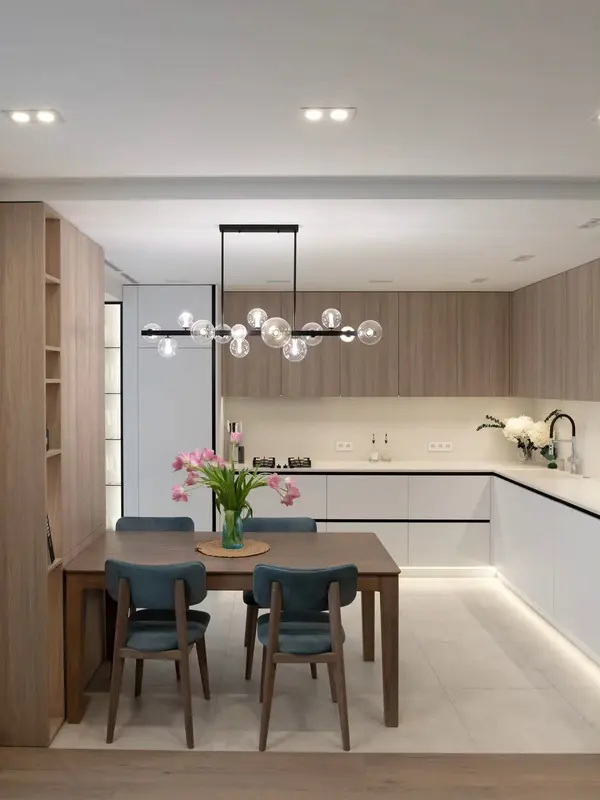 Photo collection
 Furniture inspiration from MMV Estudio
View on Instagram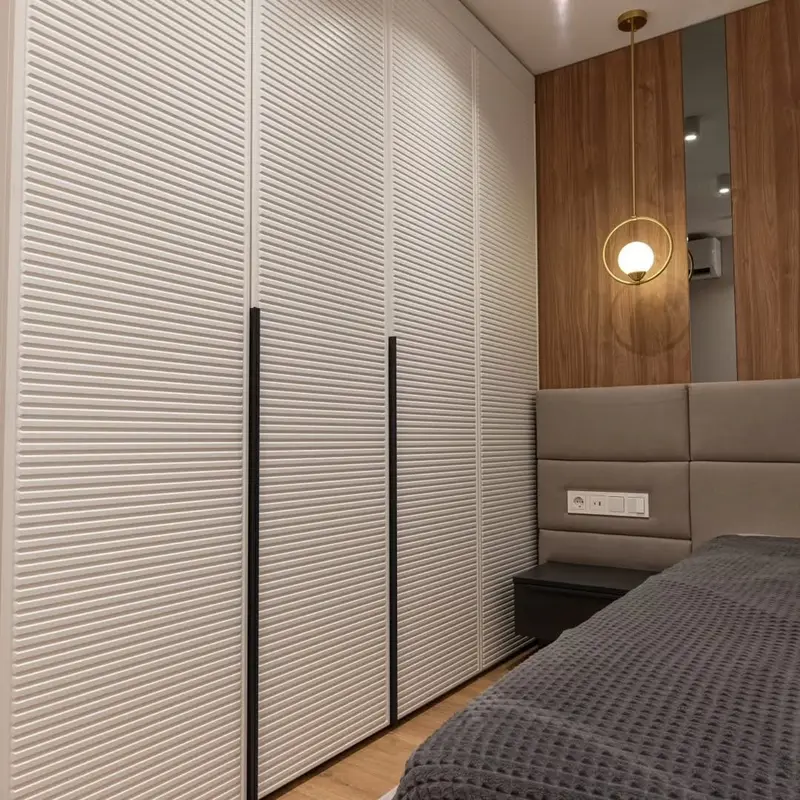 Photo collection
 Furniture inspiration from MMV Estudio
View on Instagram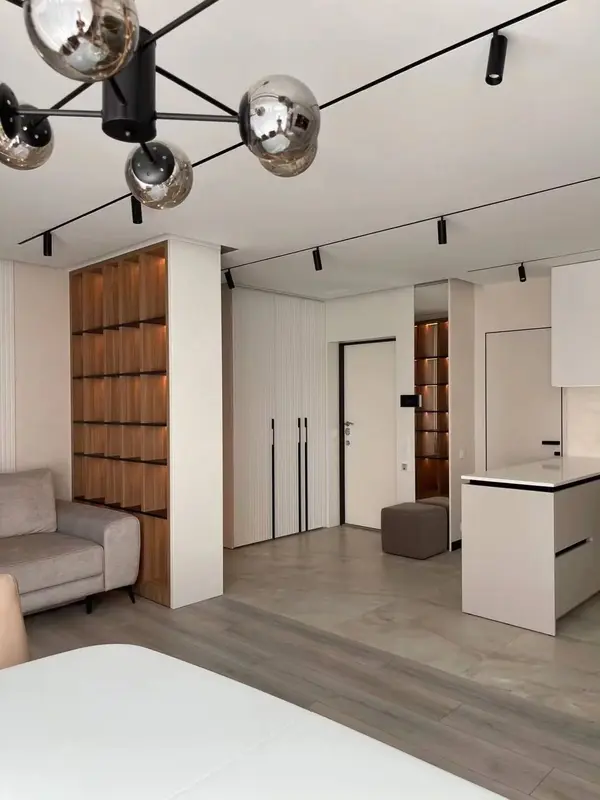 Photo collection
 Furniture inspiration from MMV Estudio
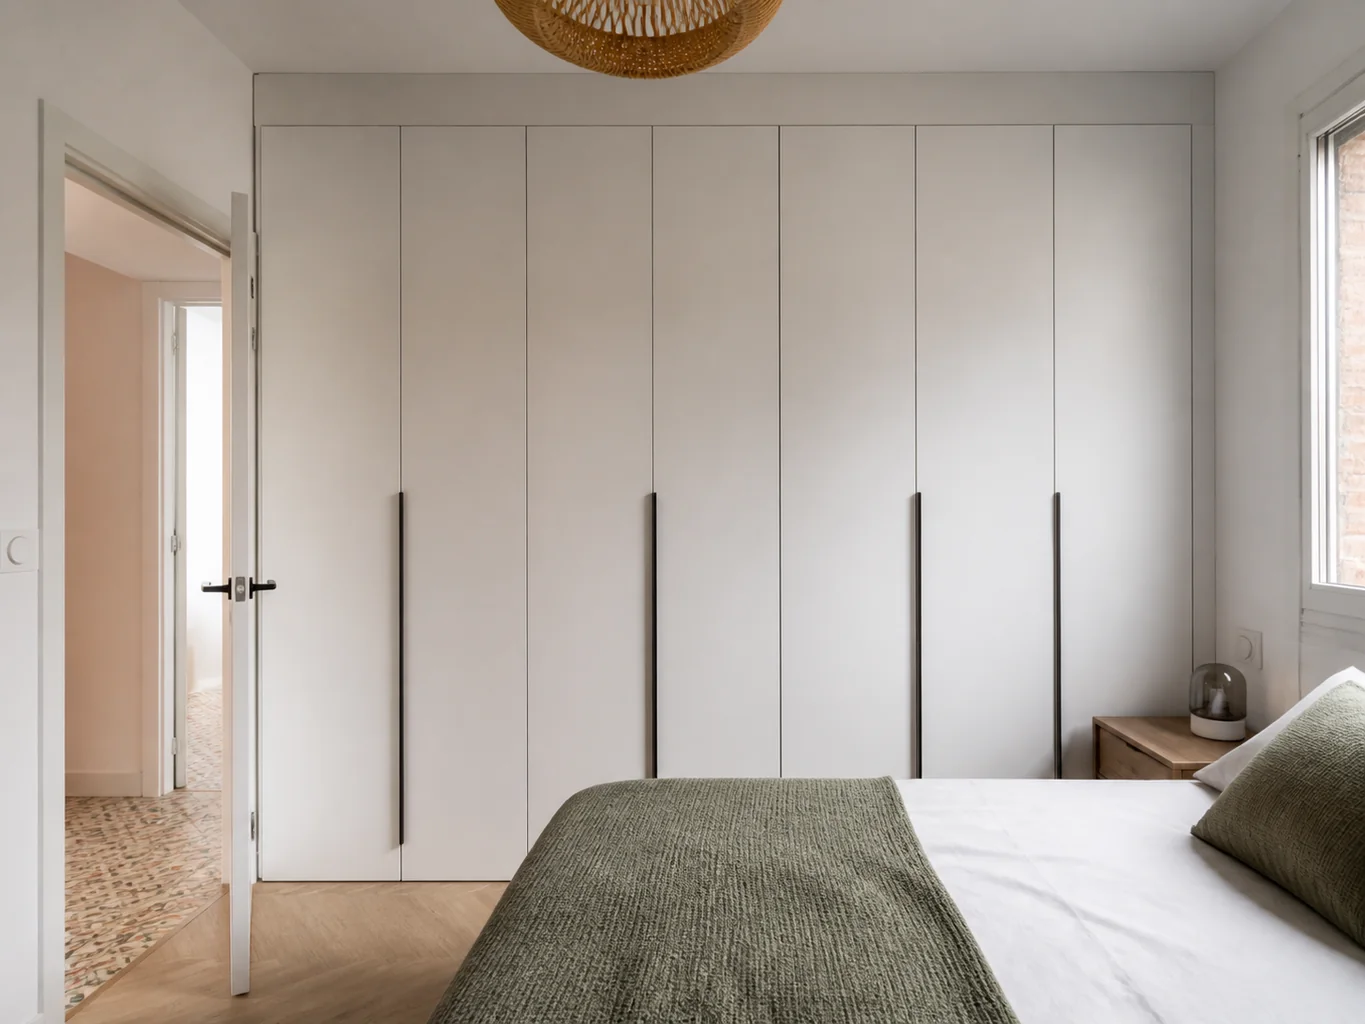
View on Instagram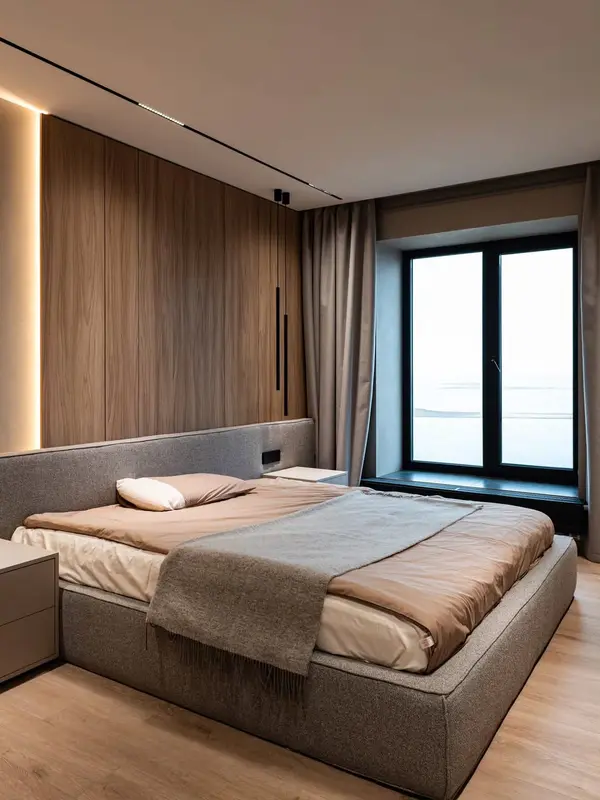 Photo collection
 Furniture inspiration from MMV Estudio
View on InstagramSixteen configurations showing different layouts, finishes and ways to integrate the furniture into a real room.
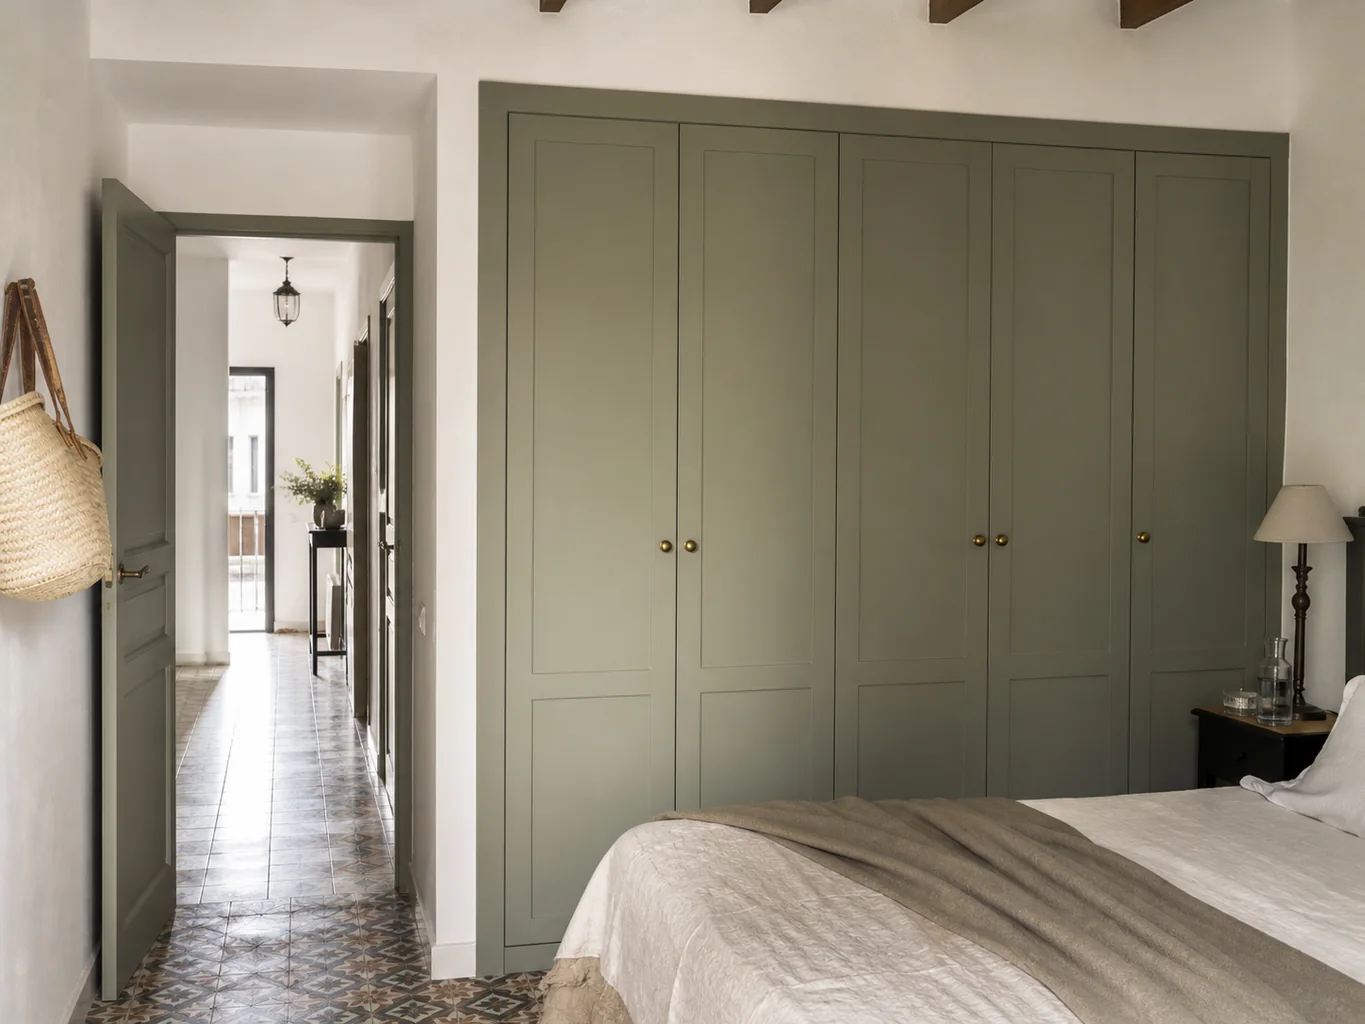
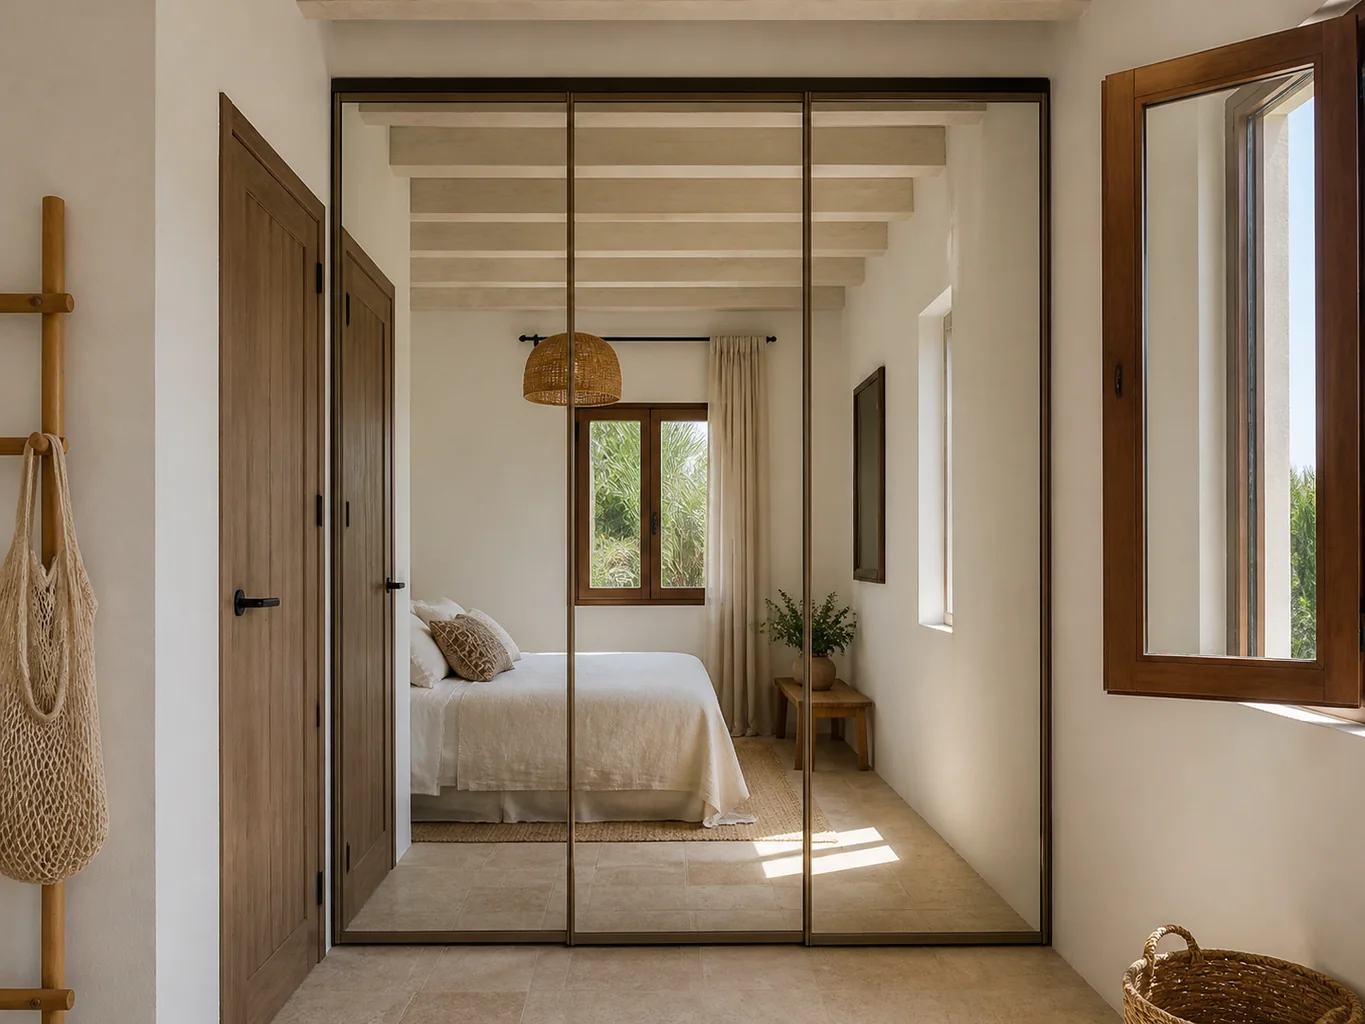
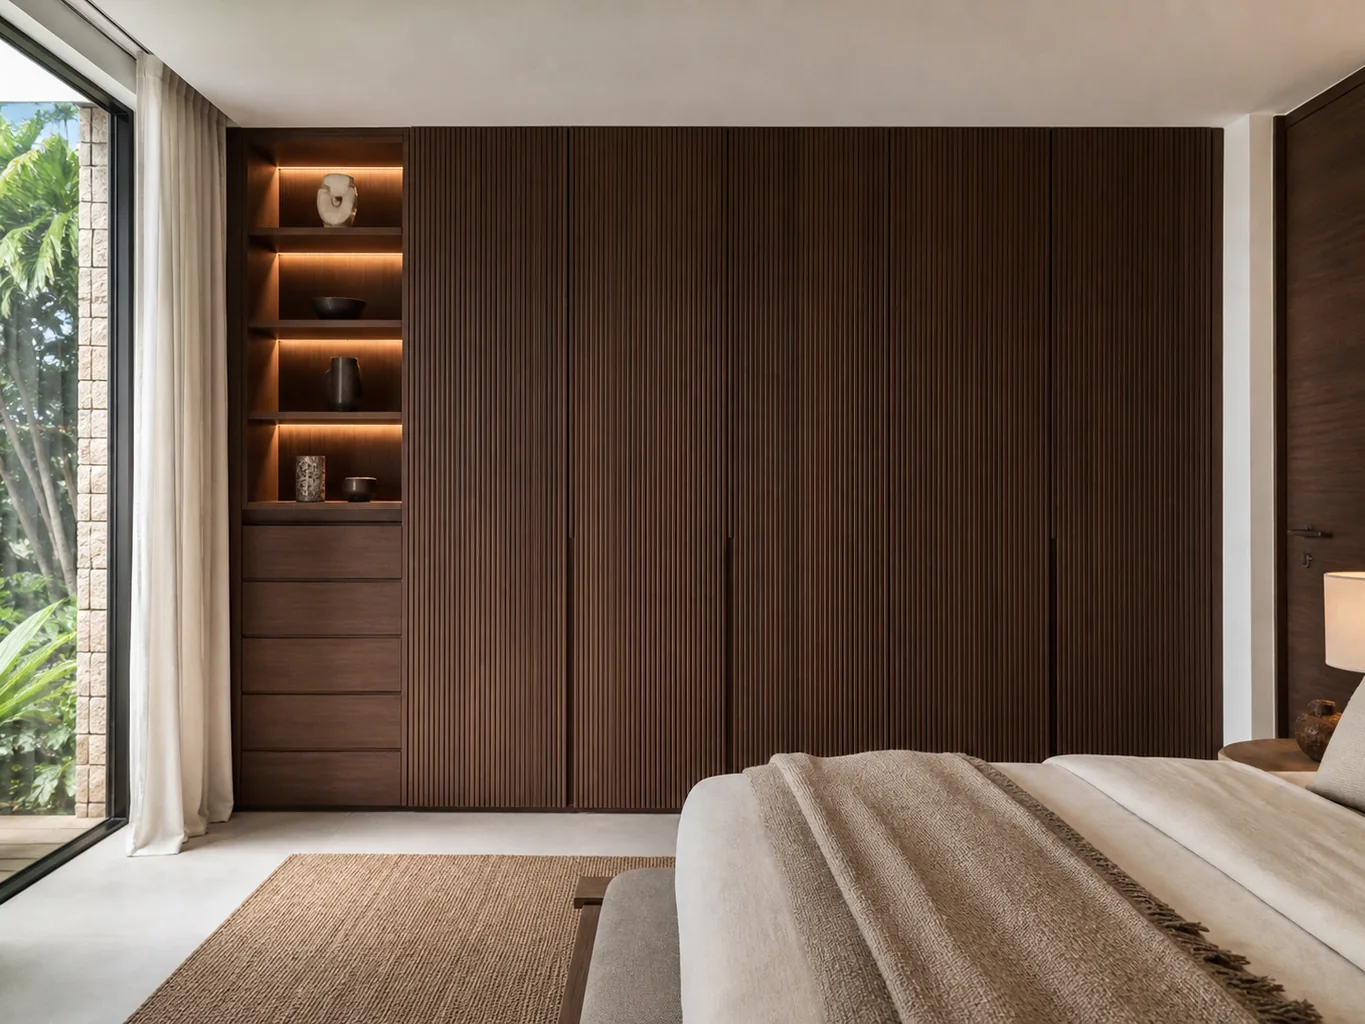
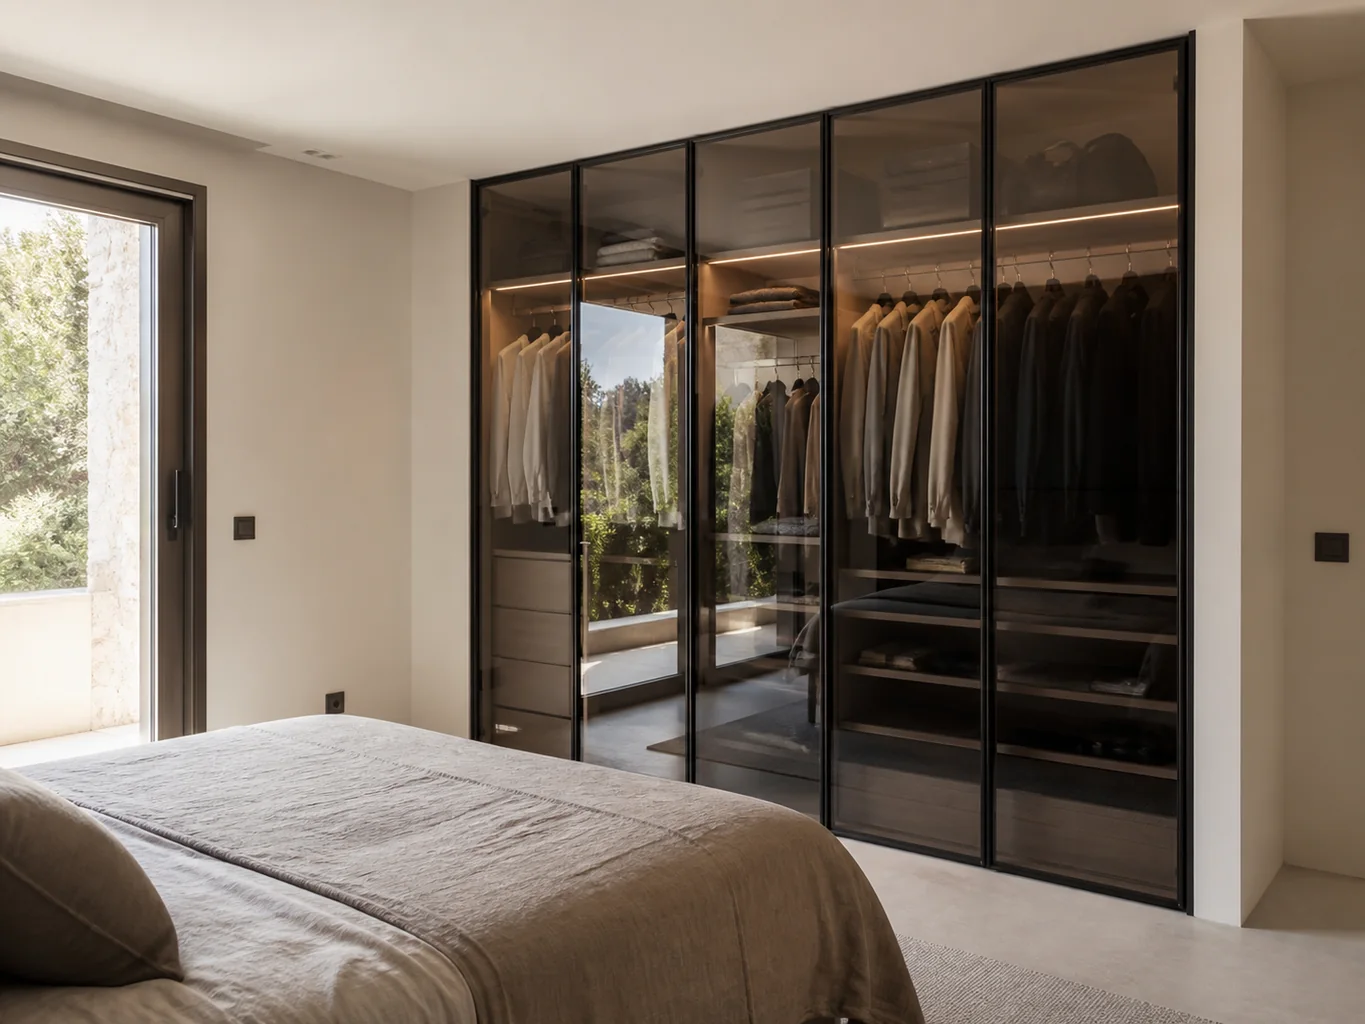
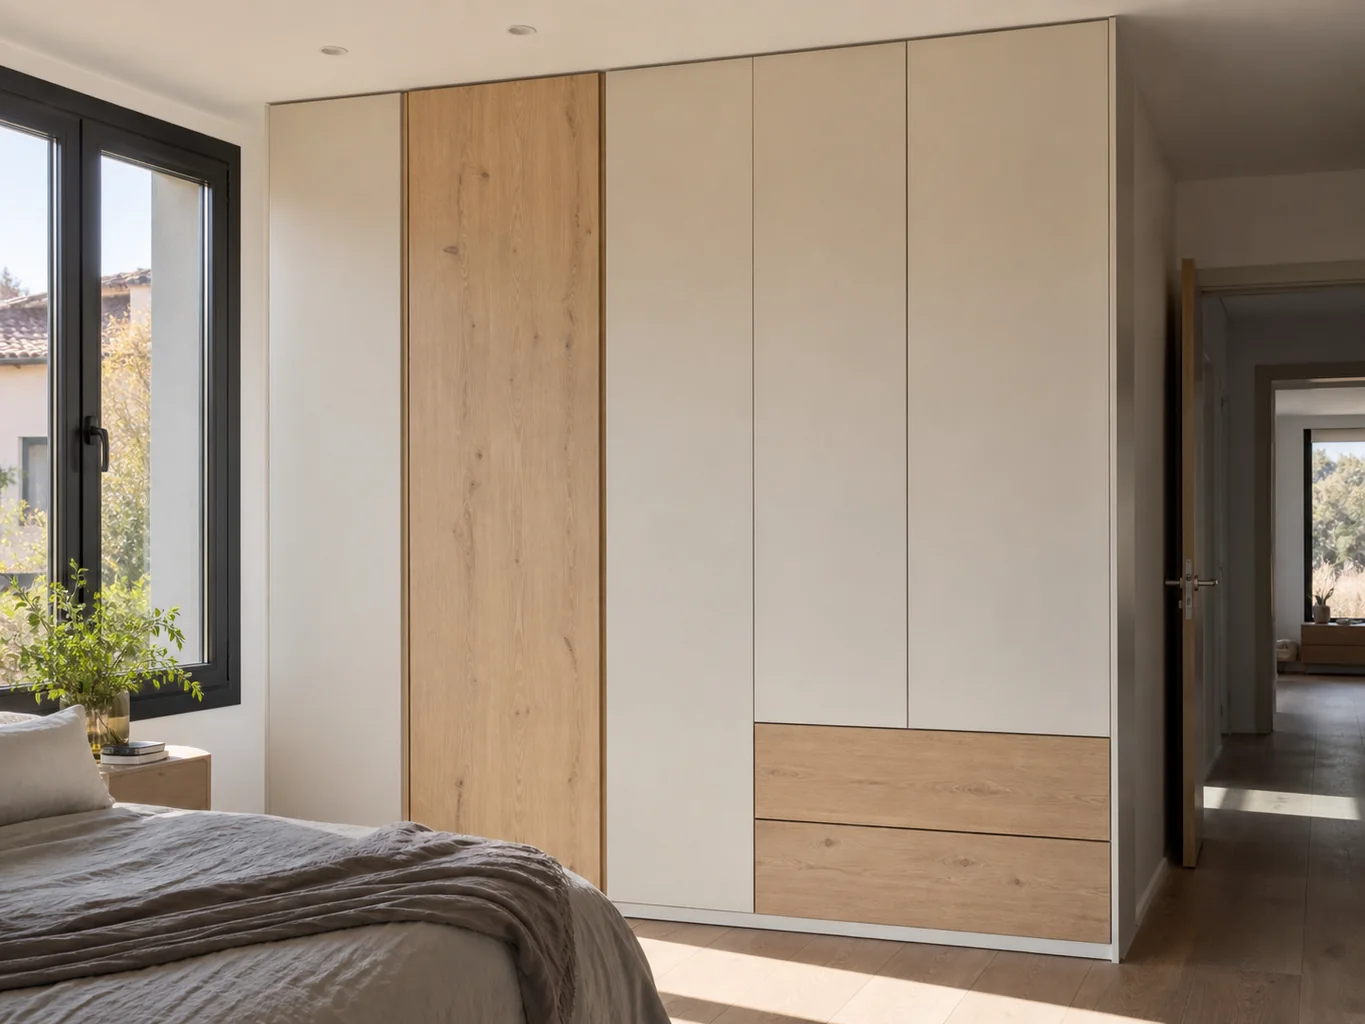
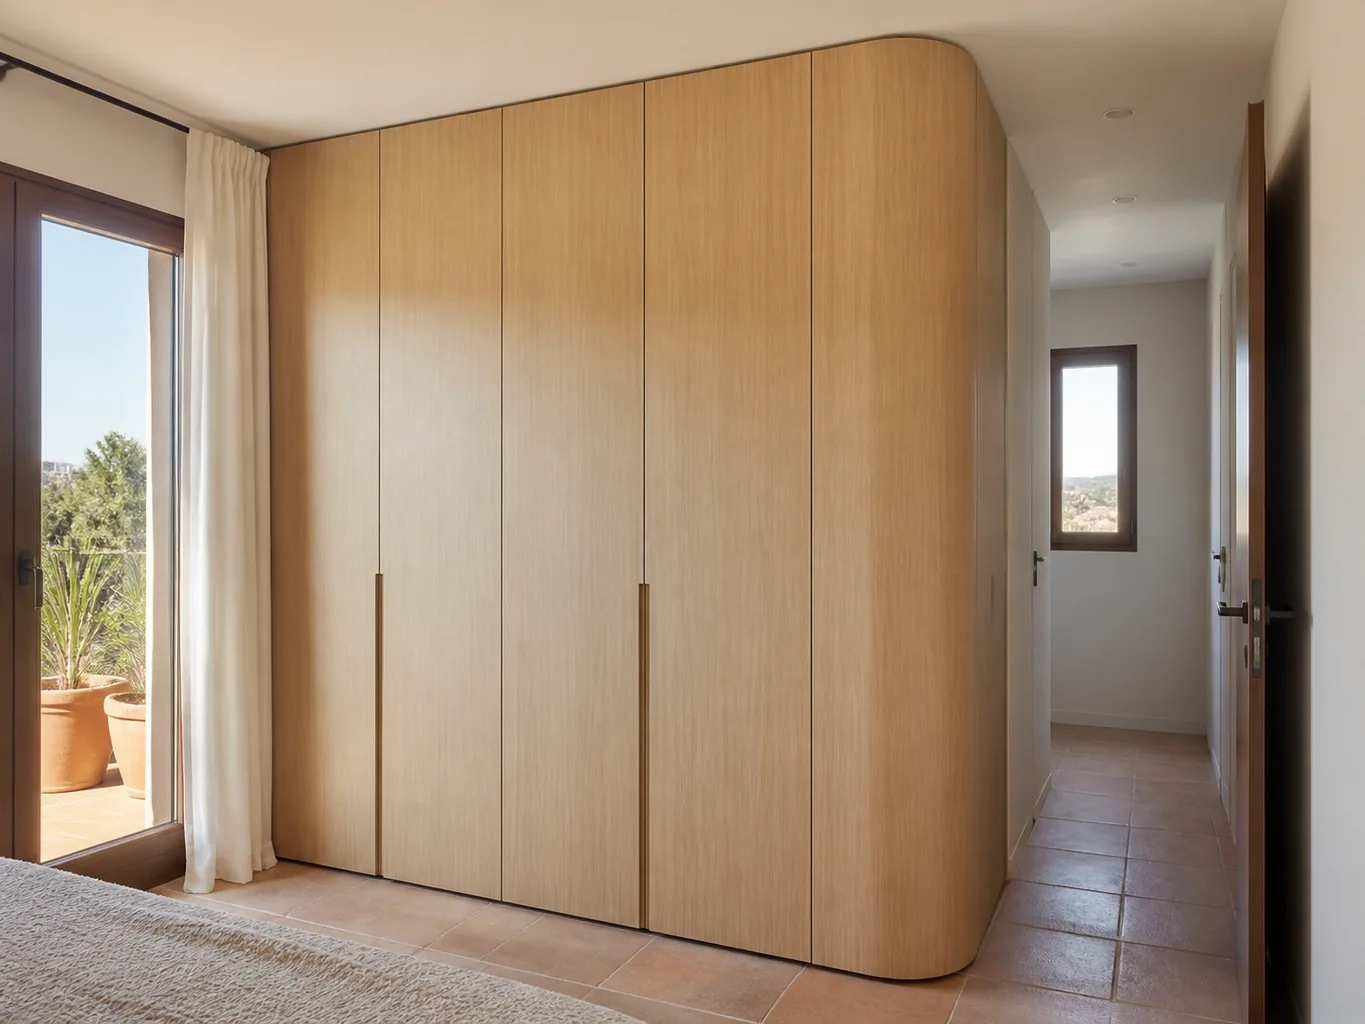
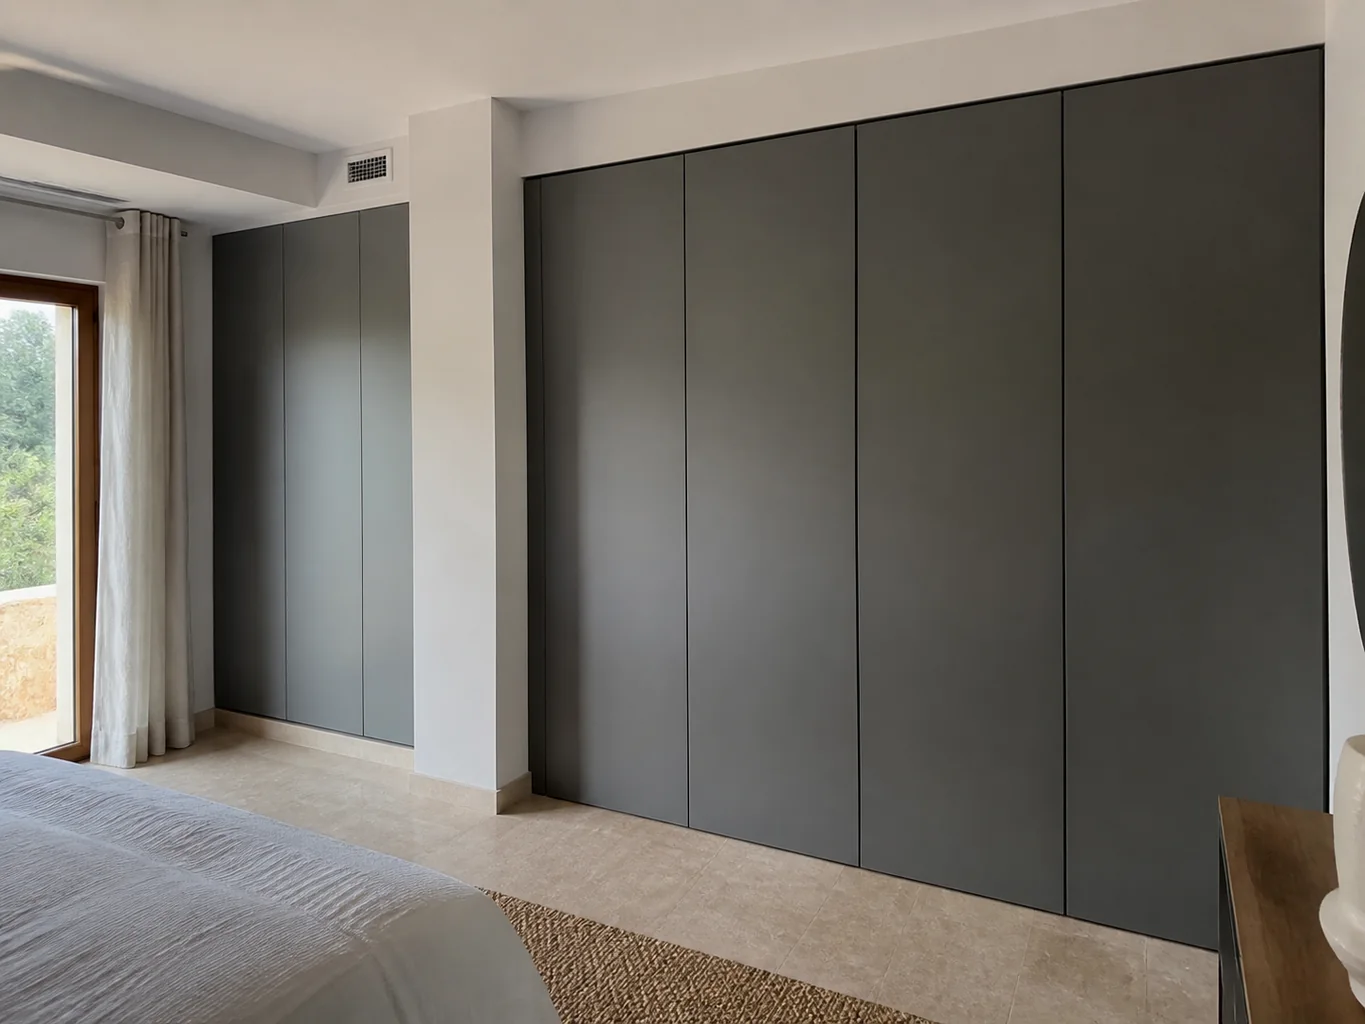
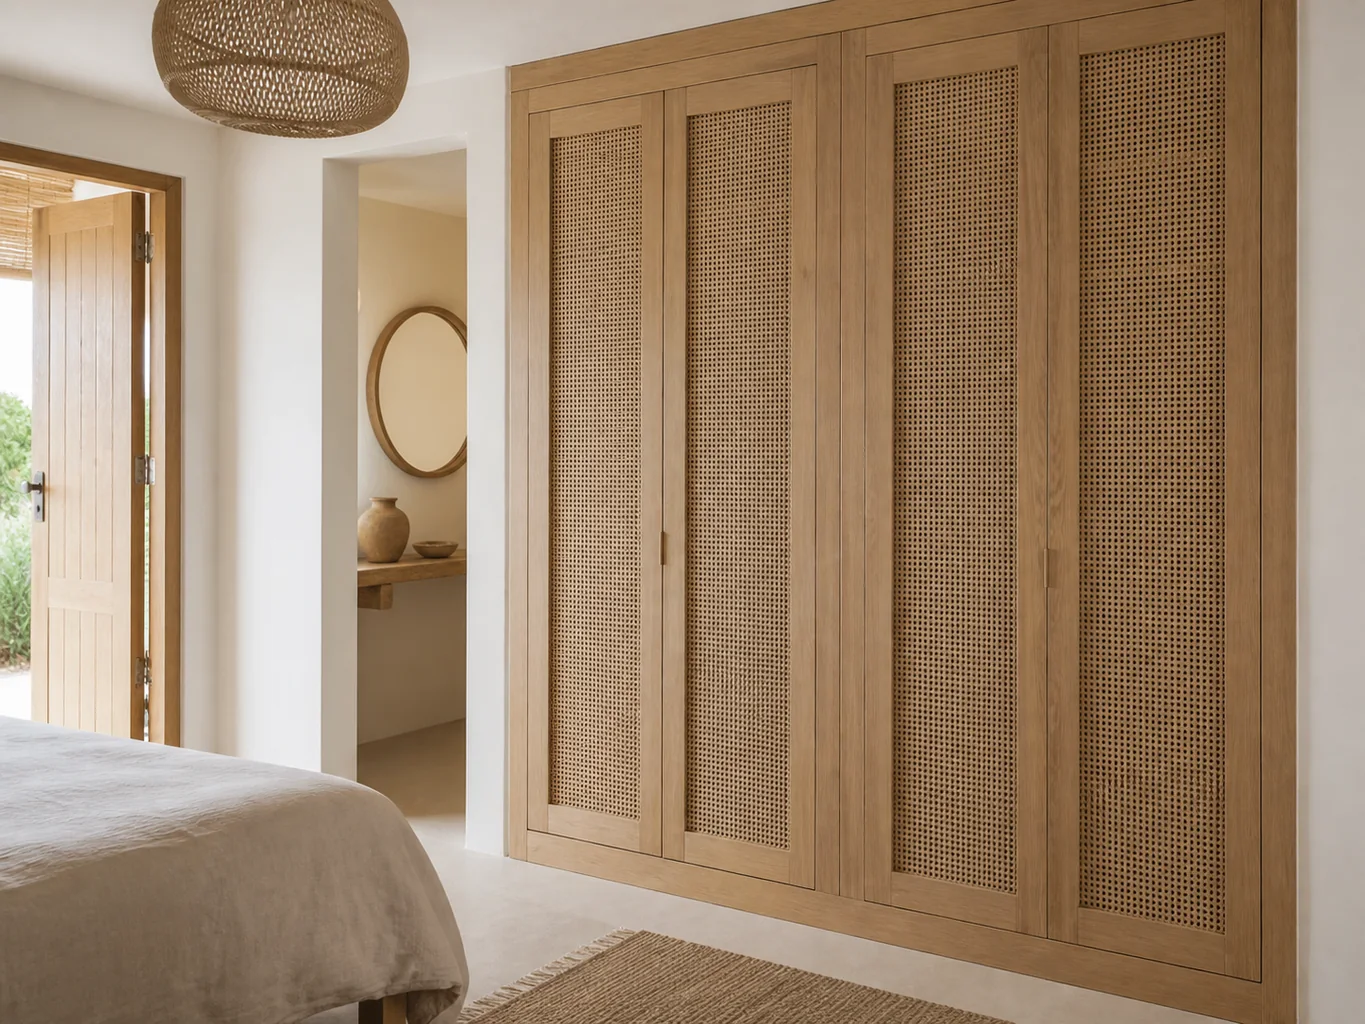
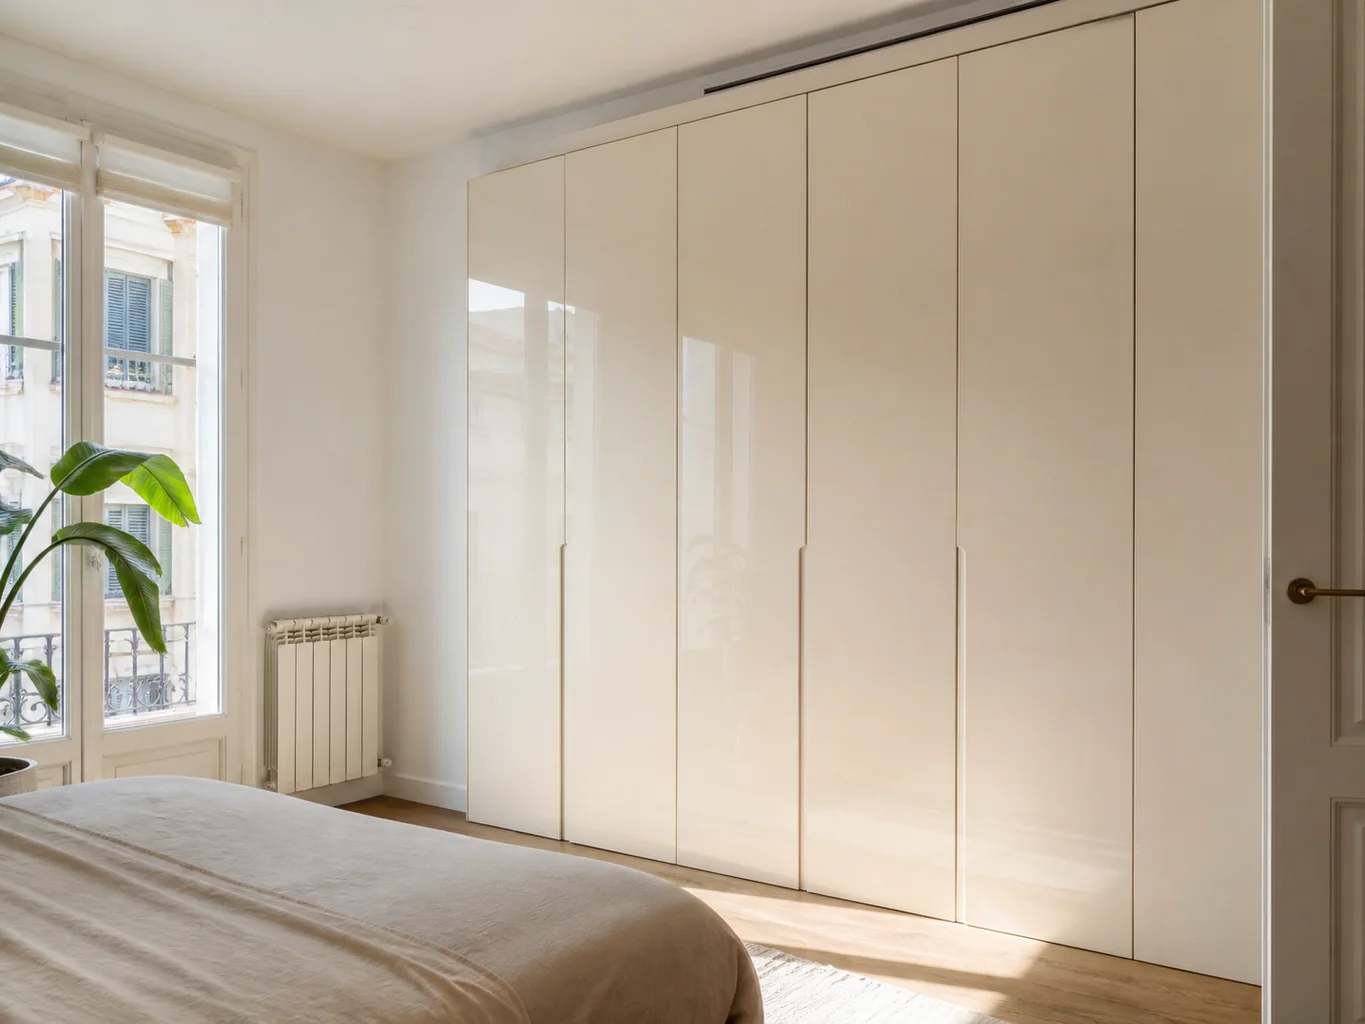
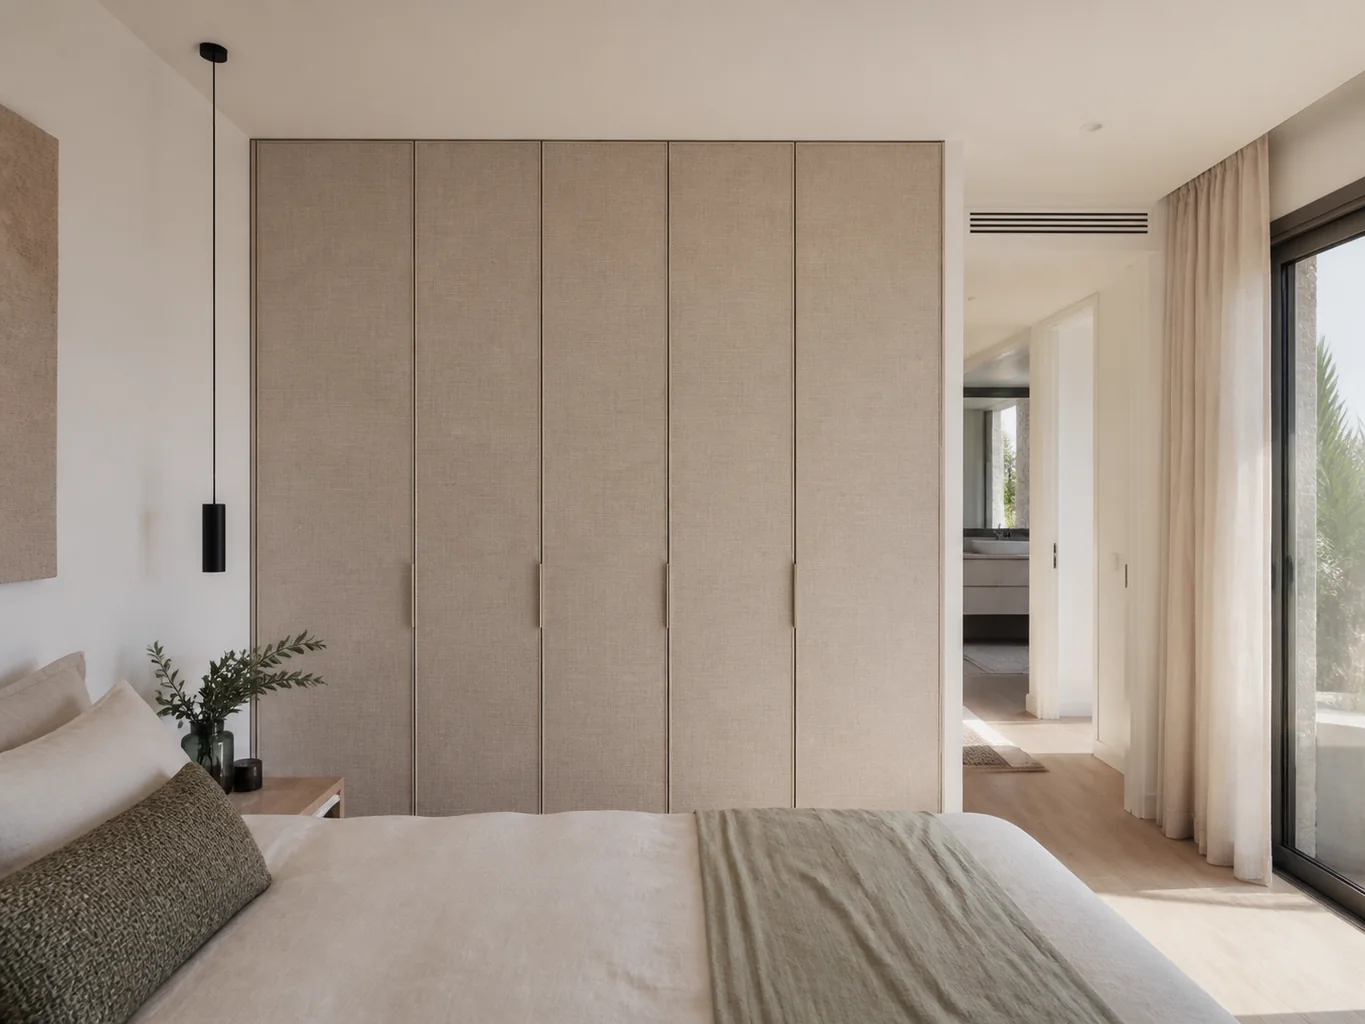
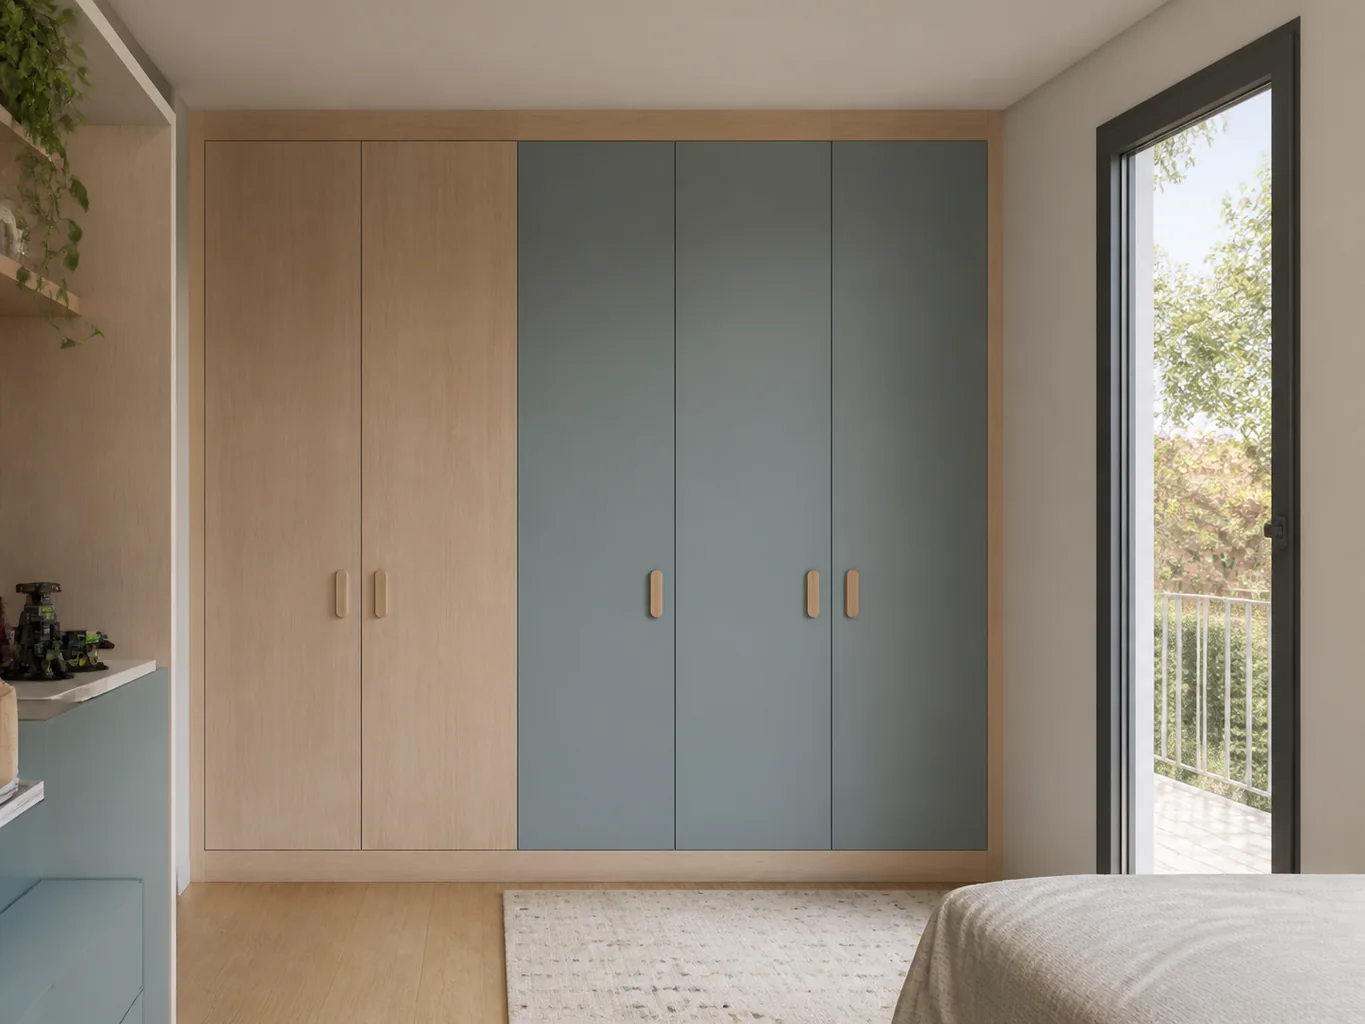
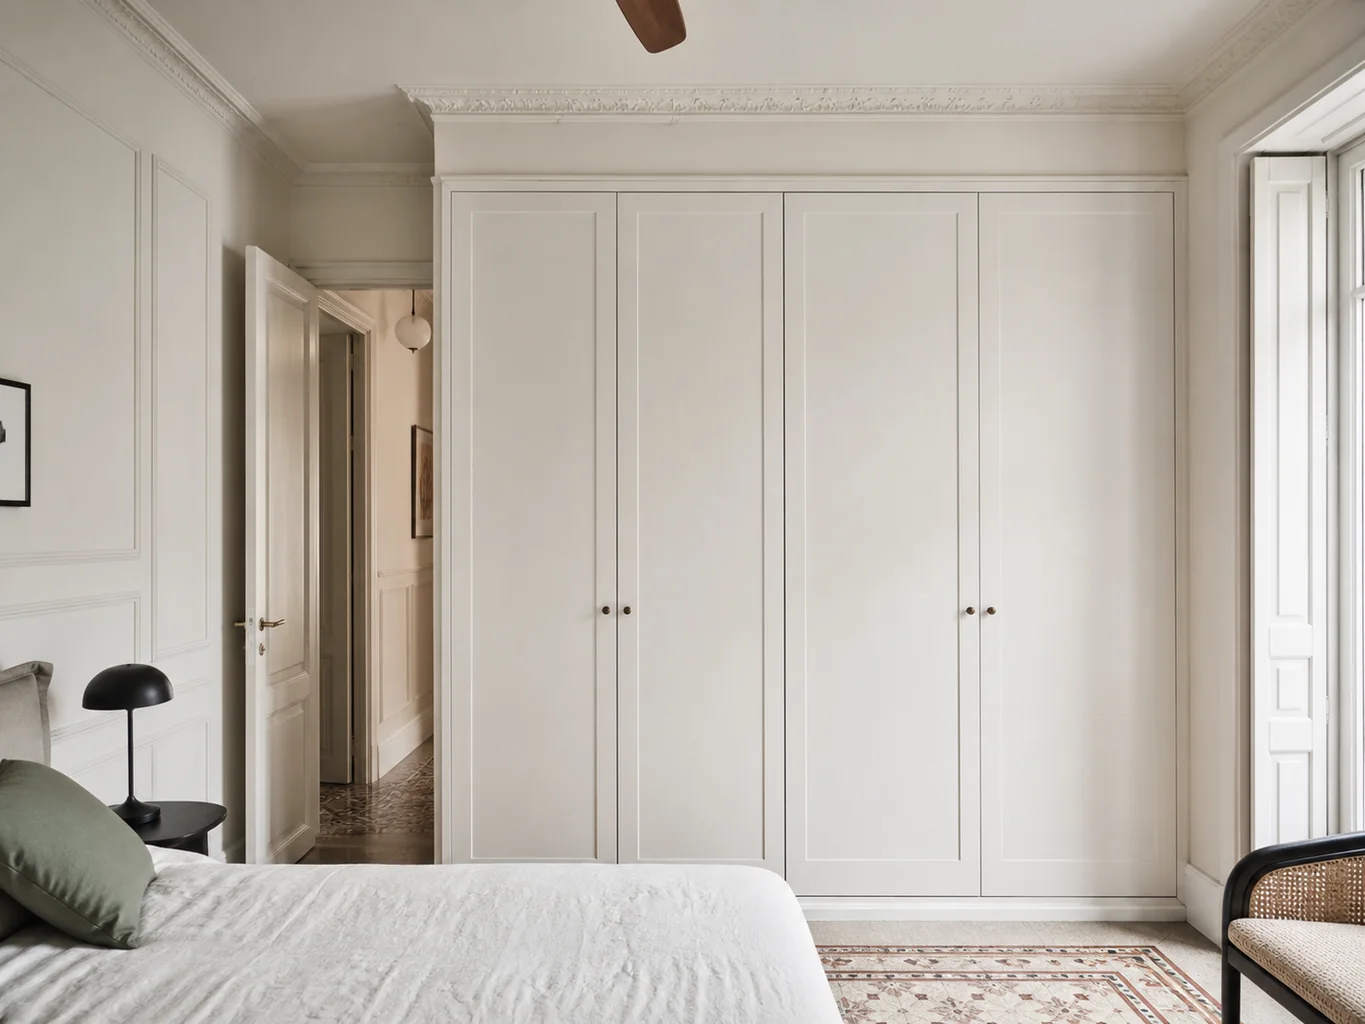
No surface finish repairs a faulty runner.
| Option | Where it helps | Check before deciding |
|---|---|---|
| Lacquer | Uniform colour | Substrate and care |
| Natural veneer | Real grain | Matching across leaves |
| Melamine | Simple cleaning | Edges and exact reference |
| Mirror | More reflected light | Weight and safety |
| Glass | Lighter appearance | Frame and maintenance |
| Cane | Ventilation | Dust and cleaning |
Doors, hardware and repairs are separated.
Check whether the old interior should stay.
Opening, square and clearances are recorded.
Hinges or runners suit the new weight.
Samples are compared in the room.
Sides, ceiling and plinth are resolved.
Movement is tested after fitting.
Removal of old furniture, painting and electrical work are priced separately when requested.
We first decide what structure can remain.
Photographs, rough dimensions and a list of needs help us examine the idea.
We check the room, obstructions and the route for bringing pieces in.
If a design is needed, we prepare it; the design is free when its manufacture is ordered. After scope and deposit are agreed, we book production.
We install, adjust doors and drawers and inspect the result with you.
More leaves bring more hardware and adjustment.
Glass, mirror and veneer have different costs.
Repairs are listed separately.
New tracks alter scope and price.
The specific address matters for the opening and delivery route, rather than because each neighbourhood has its own wardrobe style.
A column, dropped ceiling or skirting can alter the cut list.
Floor, lift and stair turns influence panel size.
Daily living and occasional stays may call for different interiors.
The proposal states materials, included work and fitting conditions. Any change is explained before production.
Manufacture, transport, fitting and exclusions are written down.
Questions and documents can be sent through the published contact channels.
Final dimensions follow a site visit or an expressly agreed validation.
The team coordinates choices, measurement and fitting.
Conditions and care for supplied parts accompany the order.
If an option has caught your eye, send it with a photo of your home. I'll explain what information we need to consider whether it suits your space.
Scope and terms are confirmed before you place an order.
That depends on structure condition and dimensions.
Its weight and safety are considered with the fittings.
A front changes access and appearance, not volume by itself.
We will review your enquiry and contact you to clarify the scope and next steps. Sending this form does not place an order.